客家炸肉和焖肉


客家炸肉,炸肉和焖肉是让孩子们好配
饭而煮的,家人非常爱这道被焖的软软的焖肉。
客家炸肉:
五花肉 or 排骨瘦肉 1公斤
材料 A:(捣碎挤出汁留用)
姜汁 1大匙
小葱 150g
蒜瓣 8粒
材料 B:
蛋 1粒
五香粉 1小匙
南乳 2块 (optional)
绍兴酒 2大匙
盐 1/2 小匙
胡椒粉 少许
糖 1/2小匙
材料C :
面粉 1大匙
粘米粉 1大匙(妈妈说加入粘米粉是让肉跟脆)
做法:
1。五花肉连皮切适宜的厚块,加入材料A的汁和所有材料B拌匀放置腌3-4小时,然后加入材料C拌匀。
2。放入热油锅炸至金黄色,即可。

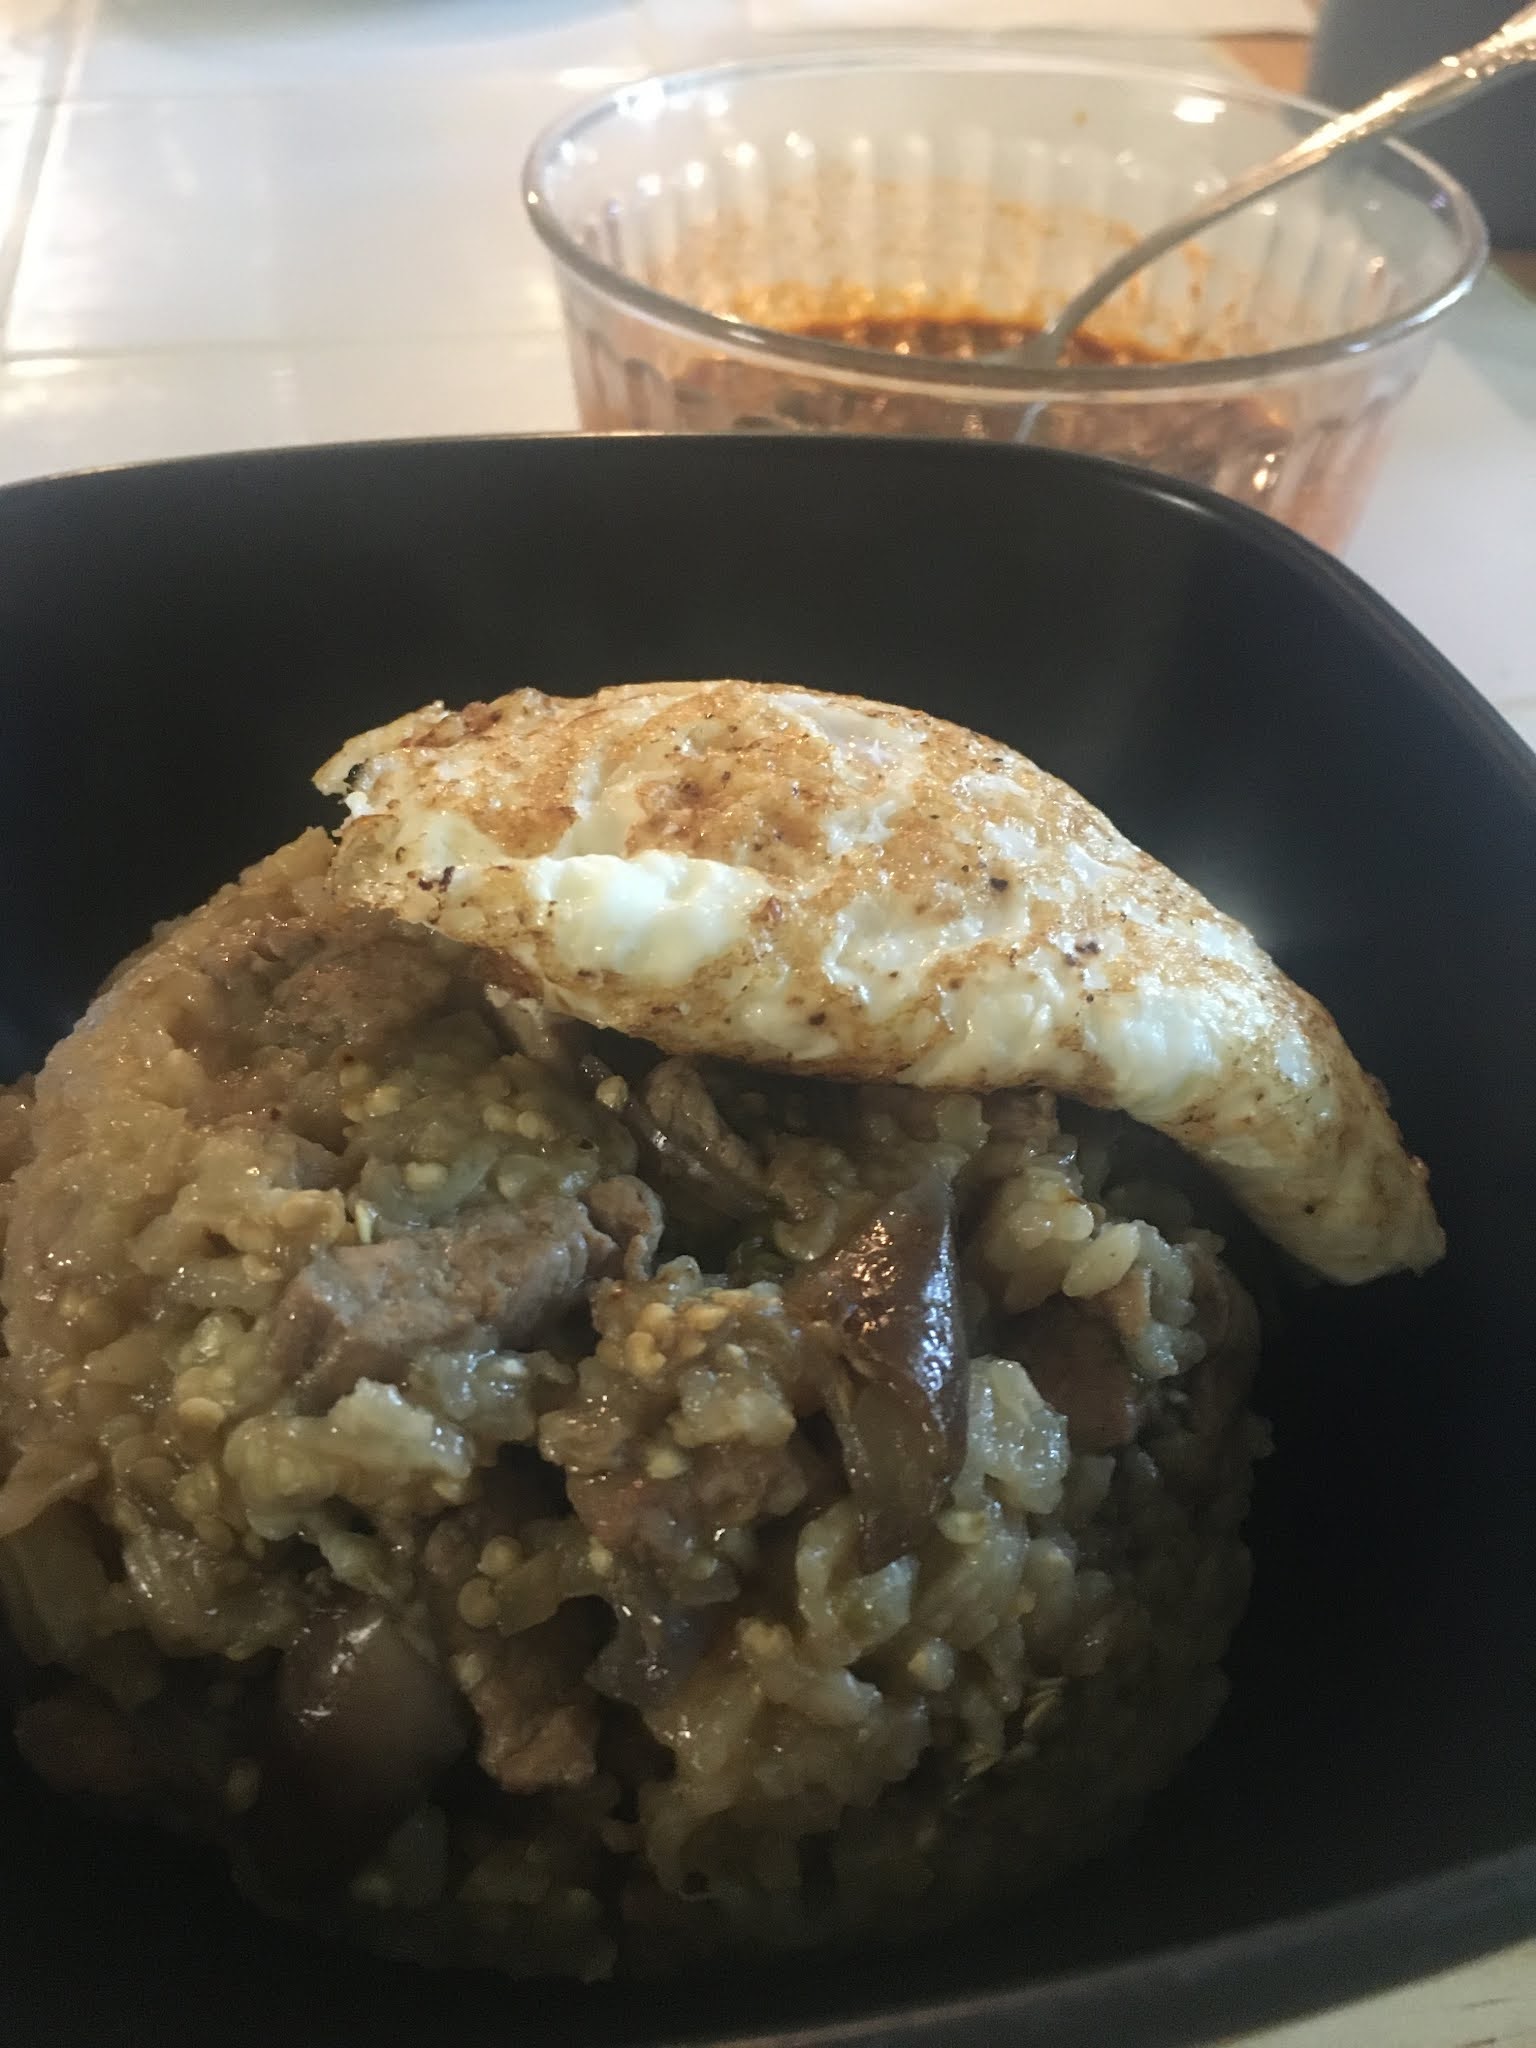
客家焖肉:
客家炸肉
蒜头 1粒(剁碎)
南乳 1块 (can skip)
五香粉 1/4小匙
绍兴酒 1/2大匙
黑木耳 100g (泡软)and I added 小香菇
盐 少许
水 适量
做法:
1。热少许油,爆香蒜头碎和南乳 (use mushroom flavored oyster sauce as replacement),倒入少许的清水,五香粉,绍兴酒,盐。水煮沸后再放入客家炸肉和黑木耳。用慢火焖煮 30-40分钟或至肉软。即可
recipe adapted from Sweetywlp's Dairy